Import Excel with Image

In today’s fast-paced digital landscape, efficient data onboarding is crucial for businesses and developers alike. With Impler’s, “Import Excel with Image” feature you can transform how you onboard data that contain images.
Traditionally, importing data from Excel has been limited to rows & columns, often requiring separate processes for handling images. Now, with Impler, users can import Excel files with images in one process. Let’s explore how this functionality works.
Add Columns with Image Type
Create a new Import and add a column with the type “Image”.
Start Importing with Images
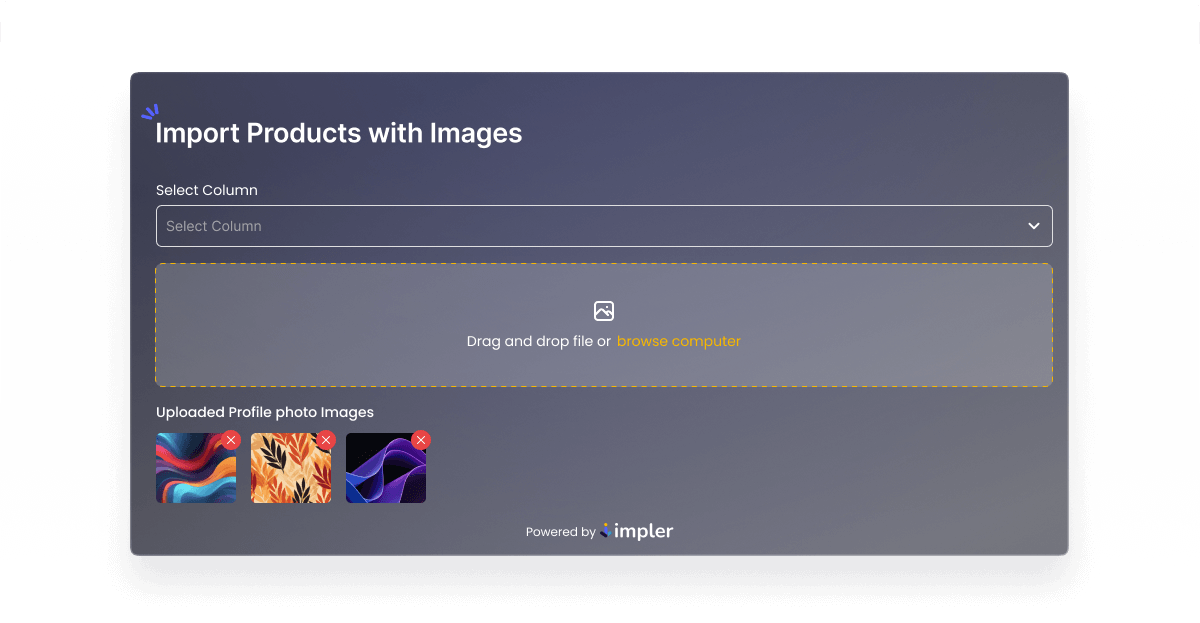
The importer will ask for images from the user first. Users can upload all necessary images and Impler will generate an Excel file holding image names in respective image columns.
Fill Data in the Generated Template
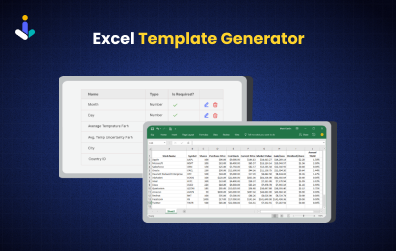
After selecting all images, an Excel file will be generated with image names in the image columns. The end user can fill data into the Excel file and upload it to the importer.
Complete the Import
Users can now upload the filled Excel file in the Importer. The next steps look similar to the import process. Users can check mappings and if it seems correct they can review imported data. The review step shows throws errors if any records fail validation. For example, If a user has entered some random image name in the image column in the case also Impler will show an error to the user. Here, user can update their value or delete unwanted records.
Imported Data will be sent to the application
Once all records are valid user can complete the import and sanitized data will be sent to the application Imported Data will be sent to the application receiving imported data, and the image column will have a link to the file uploaded by the user.
For a more detailed technical overview and implementation guide for text customization in the Import Widget, please refer to our official documentation:
Build Powerful CSV & Excel
Importer in 10 Minutes
Features Enhancing Data Import Experience


